

La calibración del flujo de filamento es uno de los ajustes más importantes en la impresión 3D. Esta calibración se hace mediante uno o varios test de flujo.
Para hacerlo sencillo: el flujo es la cantidad de filamento que sale del nozzle, y se mide normalmente como porcentaje.
Cuando el flujo está demasiado alto (por encima del 100%), aparecen problemas como:
✔ Exceso de material en las capas.
✔ Superficies rugosas con grumos visibles.
✔ Errores en detalles finos y dimensiones incorrectas.
Por otro lado, si el flujo es demasiado bajo (por debajo del 100%), es común notar:
✔ Capas mal adheridas y separación entre líneas de extrusión.
✔ Piezas frágiles con poca resistencia mecánica.
✔ Superficies irregulares con huecos.
Para evitar estos problemas, se recomienda realizar un Test de Flujo, que permite determinar el ajuste ideal para cada material y configuración de impresora. Uno de los métodos más utilizados es la Torre de Flujo, una prueba que imprime un modelo con diferentes valores de extrusión a lo largo de su altura, ayudando a identificar el ajuste óptimo.
En esta guía, explicaremos cómo realizar un test de flujo en los slicers más populares: Ultimaker Cura, OrcaSlicer y Bambu Studio.
Pruebas de Flujo en Diferentes Slicers
Test de Flujo o Calibración en Ultimaker Cura

Preparación de Ultimaker Cura para la Prueba de Flujo
Antes de realizar la prueba de flujo, debemos preparar Ultimaker Cura con las herramientas necesarias. Para este test, utilizaremos el plugin Auto Towers Generator, que nos permitirá generar automáticamente una Torre de Flujo con variaciones en el porcentaje de extrusión a lo largo de su altura.
Instalación del Plugin Auto Towers Generator
Este plugin facilita la calibración del flujo sin necesidad de modificar manualmente cada capa del modelo. Para instalarlo, sigue estos pasos:

- Abre Ultimaker Cura.
- Ve al Marketplace (parte superior derecha).
- Busca Auto Towers Generator y haz clic en Instalar.
- Reinicia Cura para activar el plugin.

📌 Nota: Si el plugin no aparece, comprueba versión compatible y conexión a internet.
¿Qué hace exactamente este plugin?
El Auto Towers Generator crea una Torre de Flujo que varía el porcentaje de extrusión por secciones. Así puedes ver cómo cambia la calidad según el flujo.
Si no has calibrado temperatura, te recomendamos hacerlo antes: Torre de temperatura en PLA.
La Torre de Flujo se imprime con valores entre 115% y 85% para localizar el mejor ajuste.
Creación y Configuración de la Torre de Flujo en Cura
Con Cura listo y el plugin instalado, generamos e imprimimos la Torre de Flujo:
Generando la Torre de Flujo

- Abre Cura y confirma que Auto Towers está activo.
- Menú: Extensions > Auto Towers > Flow Tower 115 to 85.
- Selecciona Flow Tower 115 to 85 para generar la torre con tramos decrecientes.

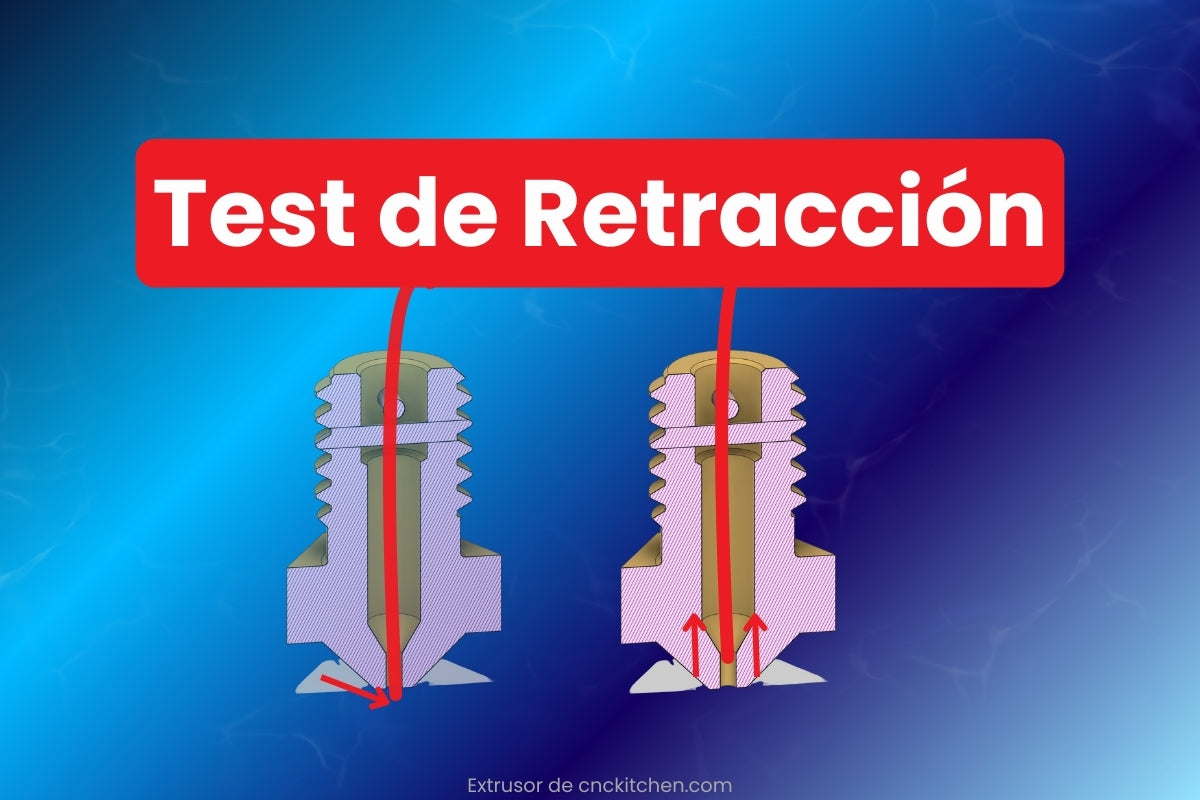
📌 Nota: En TPU u otros flexibles, revisa retracción y velocidades.
Parámetros recomendados

- Altura de capa: 0.2 mm
- Velocidad: 50–70 mm/s
- Temperatura: la óptima de tu filamento (según torre de temperatura)
- Flujo inicial: 100% (la torre lo variará automáticamente)
Guarda y envía a imprimir.
¿Cuánto material consume?
Aproximadamente 6 g de filamento.

Impresión y Evaluación de la Torre de Flujo
Imprime la torre y analiza secciones:
Imprimiendo
- Impresora bien calibrada (nivelación/primera capa).
- Usa el filamento habitual (marca/lote importan).
- Observa que la extrusión sea estable.
📌 Tip: Si la primera capa falla, revisa altura de Z y temperatura de base.
Cómo analizar

-
Flujo alto (115–110%)
- Grumos, hilos, exceso de material ⇒ flujo demasiado alto.
- Pérdida de detalle y medidas incorrectas.
-
Flujo bajo (90–85%)
- Huecos/ separación de líneas ⇒ flujo bajo.
- Menor resistencia mecánica.
-
Flujo ideal
- Superficie limpia y lisa, detalles definidos.
- Sin exceso ni falta de material.
📌 Ejemplo: si la mejor sección es 95%, usa 95% como nuevo flujo en Cura.
Ajuste Final del Flujo en Cura
Con el porcentaje óptimo definido por la torre:

Configurar el Flujo Global
- Abre Cura y tu perfil habitual.
- En la barra lateral, entra a Material.
- Busca Flujo y define el porcentaje (p.ej., 95%).
- Guarda el ajuste.
Esto afecta todo el flujo de la impresión.
Ajustes adicionales (opcionales)
✅ Paredes externas: +2–5% si falta unión (p.ej. 95% → 98–100%).
✅ Skirt/Brim: hasta 105% para purgar mejor en la primera capa.
✅ Primera capa: 100–105% (evitar elephant’s foot).
📌 Prueba primero en piezas pequeñas.
Si usas OrcaSlicer o Bambu Studio, sigue leyendo para calibrar ahí también.
Test de flujo en Bambu Lab (Bambu Studio)

Las impresoras Bambu Lab tienen calibraciones automáticas, pero una calibración manual del flujo en Bambu Studio optimiza aún más el resultado y evita sobre/subextrusión.
Aprenderás a calibrar:
✅ Flow Dynamics (parámetro K)
✅ Flow Rate (tasa de flujo por material)
Calibración de la Dinámica de Flujo (Flow Dynamics)

La calibración ajusta el K, que define la respuesta del extrusor a cambios de velocidad. Un K erróneo genera inconsistencias de extrusión.
Acceso
1️⃣ Abre Bambu Studio > pestaña Calibración.
2️⃣ Elige Flow Dynamics Calibration > Calibración manual.
📌 En manual tendrás más control que en automática.
Ajustes iniciales

🔹 Boquilla: 0.4 mm
🔹 Placa: selecciona la correcta (Textured/Cool Plate)
🔹 Material: usa perfil genérico si no existe el específico
Ejecutar y evaluar

✅ Ejecuta “Calibrar”: la impresora imprime una línea continua variando K.
🔎 Evalúa la uniformidad de la línea.
- Línea con engrosamientos ⇒ K incorrecto.
- Línea uniforme ⇒ K óptimo.
📌 Ejemplo: K óptimo = 0.02.
Aplicar el valor
Selecciona el K óptimo y pulsa Siguiente para guardarlo. Si cambias boquilla/filamento, repite.
Calibración de la Tasa de Flujo (Flow Rate)

Ajusta la cantidad extruida para evitar sub/sobreextrusión y mejorar uniformidad.
Inicio
En Calibración > Manual, verifica boquilla/placa/material correctos.
Prueba y evaluación
✅ Ejecuta Calibrar. Imprimirá una cuadrícula 3×3 (~30 min) con distintos ajustes de flujo.

- Examina superficie y tacto de cada muestra.
- Descarta extremos (-10, -20) si son irregulares.
- Elige la mejor calidad superficial sin defectos.
📌 Ejemplo: entre dos similares, ganó -5%.
Calibración fina y guardado
Para afinar, repite con pasos más pequeños. En una segunda ronda, 0 fue el ideal. Guarda el perfil (p. ej.: PLA Figutech ONE).
Test de flujo en OrcaSlicer

Antes de empezar:
1️⃣ Abre OrcaSlicer > Filament Settings.
2️⃣ Selecciona el filamento de la calibración.
3️⃣ Verifica Flow Rate = 1.00 (100%) como punto de partida.

📌 Nota: No cambies flujo manual antes del test.
Prueba de Flujo – Paso 1

✅ Ejecutar:
1️⃣ Calibración en OrcaSlicer.
2️⃣ Prueba de Flujo – Paso 1.
3️⃣ Transfer / Apply settings (aplica valores al perfil actual).
4️⃣ Slice e imprime.
Análisis (Paso 1)
Evalúa la pieza:
- Superficie homogénea.
- Números/marcas legibles (0 = 100%, +5 = 105%, −5 = 95%).
- Si el mejor es 0 ⇒ deja 1.00.
- Si el mejor es +5 ⇒ ajusta a 1.05.
- Si el mejor es −5 ⇒ ajusta a 0.95.

📌 Aplica ese valor como base para el Paso 2.
Prueba de Flujo – Paso 2
Ahora afinamos el flujo.
✅ Ejecutar:
1️⃣ Vuelve a Calibración.
2️⃣ Selecciona Prueba de Flujo – Paso 2.
3️⃣ Comprueba que el flujo del Paso 1 esté aplicado.
4️⃣ Slice e imprime.
Análisis y ajuste final
- Revisa homogeneidad y legibilidad.
- Elige el mejor y ajusta Flow Rate en consecuencia.
📌 Ejemplo: Si en Paso 1 elegiste 1.05 y en Paso 2 el mejor es −1, entonces 1.05 − 0.01 = 1.04 (104%) como valor final.

Imágenes OrcaSlicer: Magicraft3D
Vídeo de referencia (Magicraft) con el proceso en OrcaSlicer:
Test de flujo OrcaSlicer

Dejar un comentario
Todos los comentarios se revisan antes de su publicación.
Este sitio está protegido por hCaptcha y se aplican la Política de privacidad de hCaptcha y los Términos del servicio.