PLA Figutech ONE
Acabado liso, fácil de imprimir
Base ideal para planchado: capas superiores homogéneas y color consistente para un brillo regular.

Surface quality is the first impression of a 3D part. In Bambu Studio you can gain “professional face” with two settings that make the difference: place the seam where it does not bother and activate a fine ironing on the top layers. Below is a practical guide, designed to apply and compare results in minutes.
Quick Response:
To improve the finish in Bambu Studio, place the seam in a hidden area (back edges or non-visible faces) using “Aligned” or “Random” depending on the geometry; then it activates ironing on the top layers with low speed and flow 8–12% (PLA) / 5–8% (PETG). This reduces visible lines and achieves smooth surfaces.
The seam is the point where the extruder starts/ends the perimeter of each layer. As it accumulates layer by layer, it forms a “column” of micro-jumps that can be seen as a line, scar or step. Its visibility depends on:

Search for Seam / Seam position (names may vary depending on version/language) and use these strategies:
Quick checklist for seams
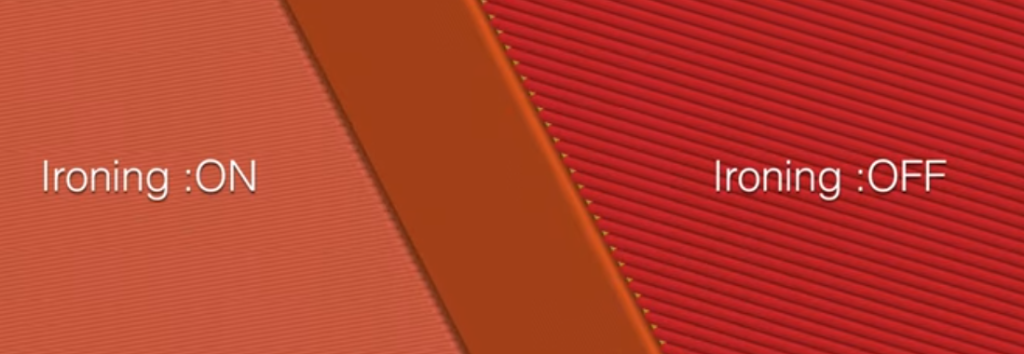
Ironing passes the nozzle over the top layers with very low flow and tight strokes to fill micro-gaps between lines and “smooth” the texture. It’s the equivalent of “passing the iron” over the last layer.
Result: smoother top layers, better light reflection and less need for fine sanding.
(In other laminators it is called “Ironing”; here we focus on Bambu Studio.)
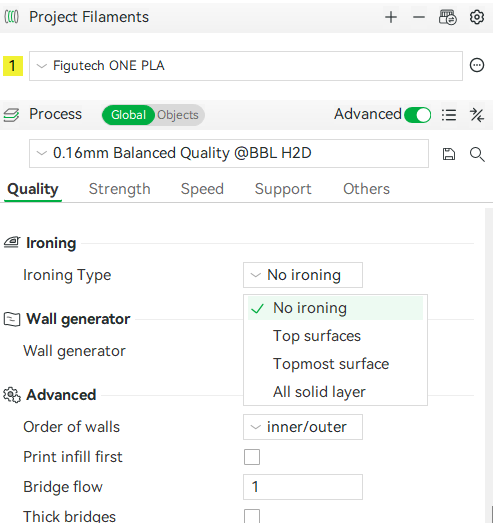
Put ironing on “top surface” and start with conservative values. Adjust by material:
Key parameters and starting ranges
Best practices
| Ajuste | Valor recomendado | Notas |
|---|---|---|
| Ocultar costuras | ||
| Seam position | Back | Usa “Back” o “Aligned” y orienta el modelo para ubicar la costura en una cara no visible. |
| Seam gap | 0–10% | Disponible en Developer Mode en algunas versiones. Reduce “zits” y la columna de costura; prueba 0–5% y ajusta. |
| Scarf joint seam (experimental) | Enabled | Suaviza la unión distribuyendo el inicio/fin. Función nueva; resultados pueden variar según versión. |
| Planchado | ||
| Enable Ironing | Topmost surfaces | Plancha solo superficies superiores para maximizar calidad y tiempo. |
| Ironing pattern | Rectilinear | Rectilinear (zig‑zag) funciona bien en la mayoría de piezas; prueba Concentric para formas circulares. |
| Ironing flow | ~10% | PLA ~8–12%; PETG ~5–8%. Si hay brillo/arrastre, baja 2–3 puntos. |
| Ironing speed | 20–30 mm/s | Velocidad baja mejora la homogeneidad; ajusta según material y geometría. |
| Ironing line spacing | 0,10–0,15 mm | Mantén el espaciado menor que el diámetro de boquilla para repasar la misma zona varias veces. |
1) The seam keeps looking too much
2) Marks, shine or drag after ironing
3) Top layer with grooves still visible
Ready to make the leap in visual quality? Try these settings today and pair them with a top-quality filament for repeatable results:
Prueba costuras ocultas + planchado con un filamento estable para repetir resultados.
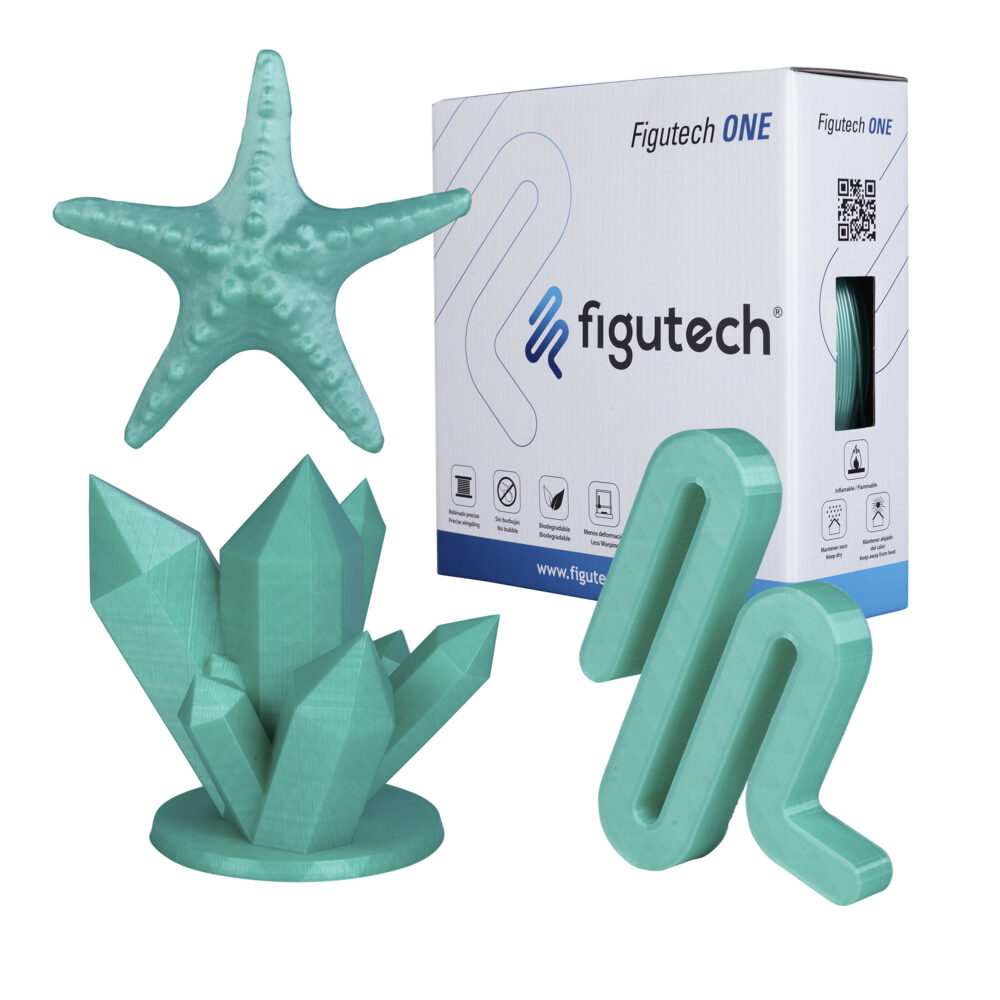
Base ideal para planchado: capas superiores homogéneas y color consistente para un brillo regular.
Para piezas funcionales: excelente adhesión entre capas y compatibilidad con planchado moderado.

Smooth Surfaces in 3D Printing | Seams Ironing
Surface quality is the first impression of a 3D part. In Bambu Studio you can gain “professional face” with two
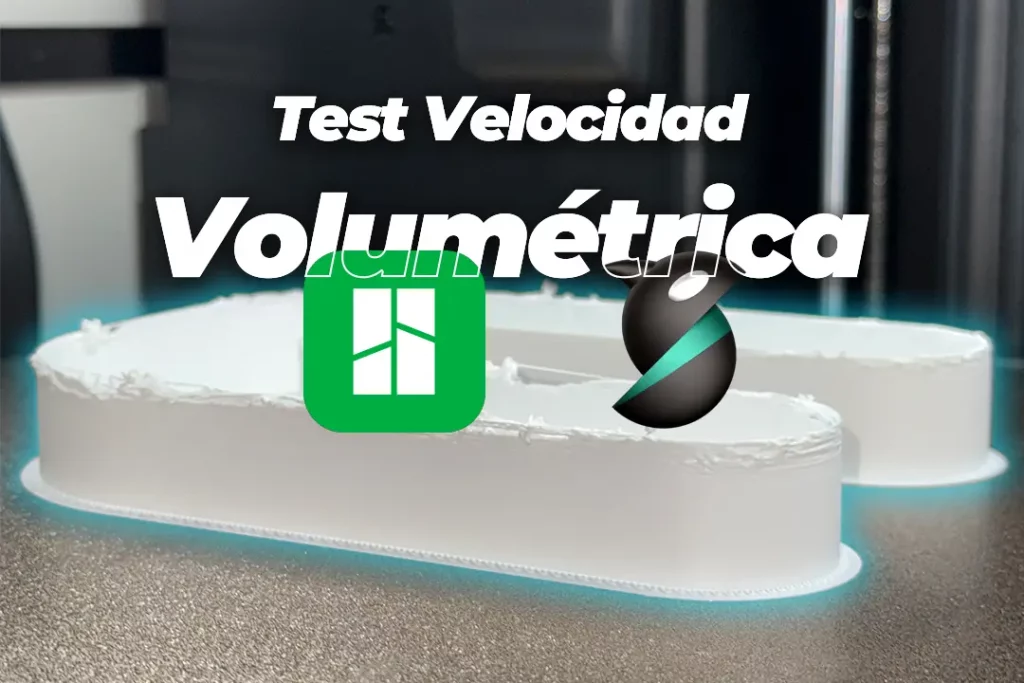
Volumetric Speed Test | Increase 3D Printing Speed
Want to print faster without losing quality? The key is to know the volumetric speed limit of your 3D printer

OrcaSlicer Tolerance Test: Complete 3D Printing Guide
OrcaSlicer’s tolerance test solves a common problem in 3D printing: parts that do not fit correctly when assembled. This simple
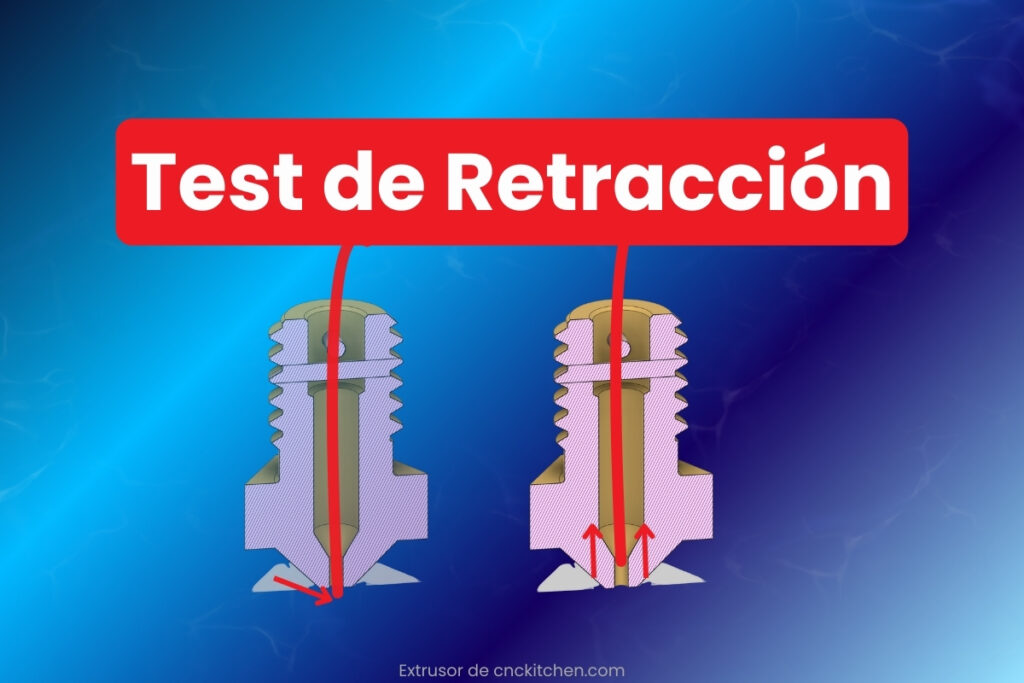
3D Printing Shrinkage Test: Quick Guide 2025
Reducing stringing in 3D printing is not a matter of luck, but of good setup. Learn how to do a

Flow Test in 3D Printing: Quick Solution
Filament flow calibration is one of the most important settings in 3D printing. This calibration is done by one or
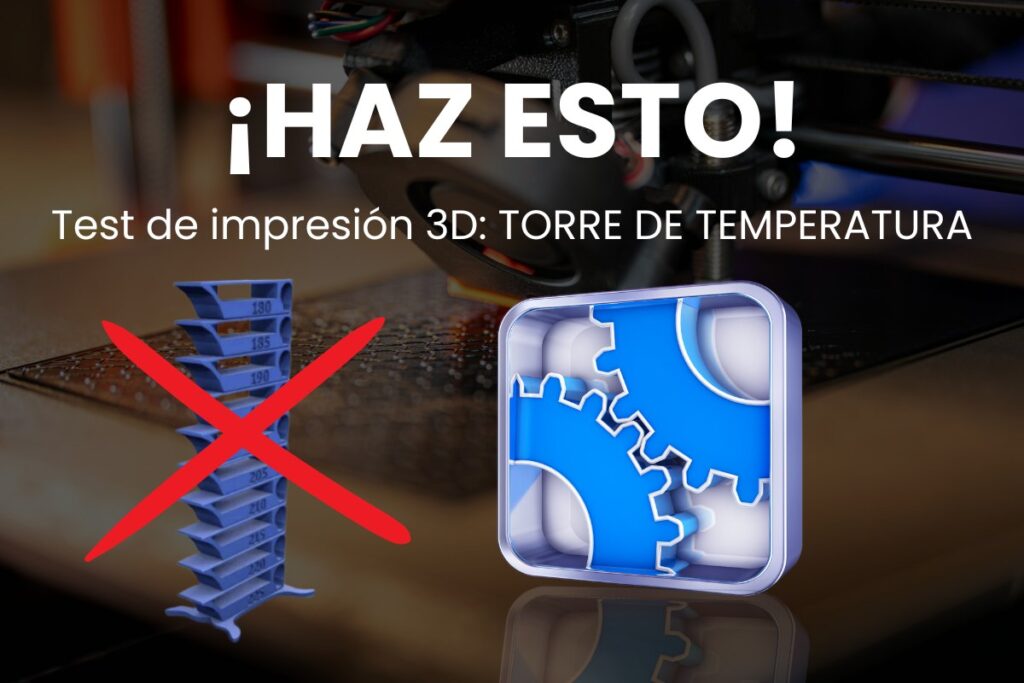
PLA Temperature Tower for 3D Printing: Guide 2025
Why not just follow the manufacturer’s guide, if only! Filament specifications are a good starting point, if you 3D print
We promise to send you only what interests you: practical advice, special discounts and access to free samples of our filaments. No spam, only benefits.