3D
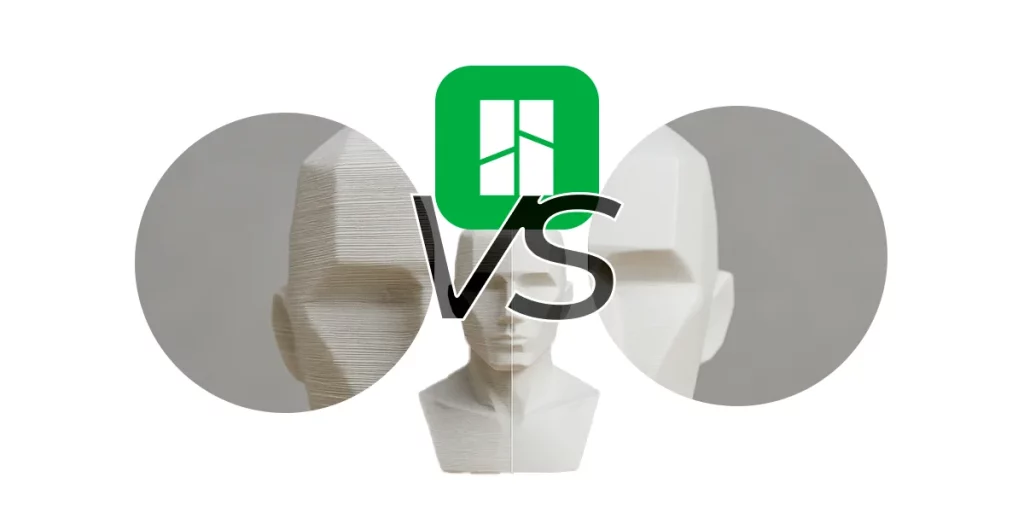
Smooth Surfaces in 3D Printing | Seams Ironing
Surface quality is the first impression of a 3D part. In Bambu Studio you can gain “professional face” with two
Reducing stringing in 3D printing is not a matter of luck, but of good setup. Learn how to do a shrinkage test and forget about stringing.
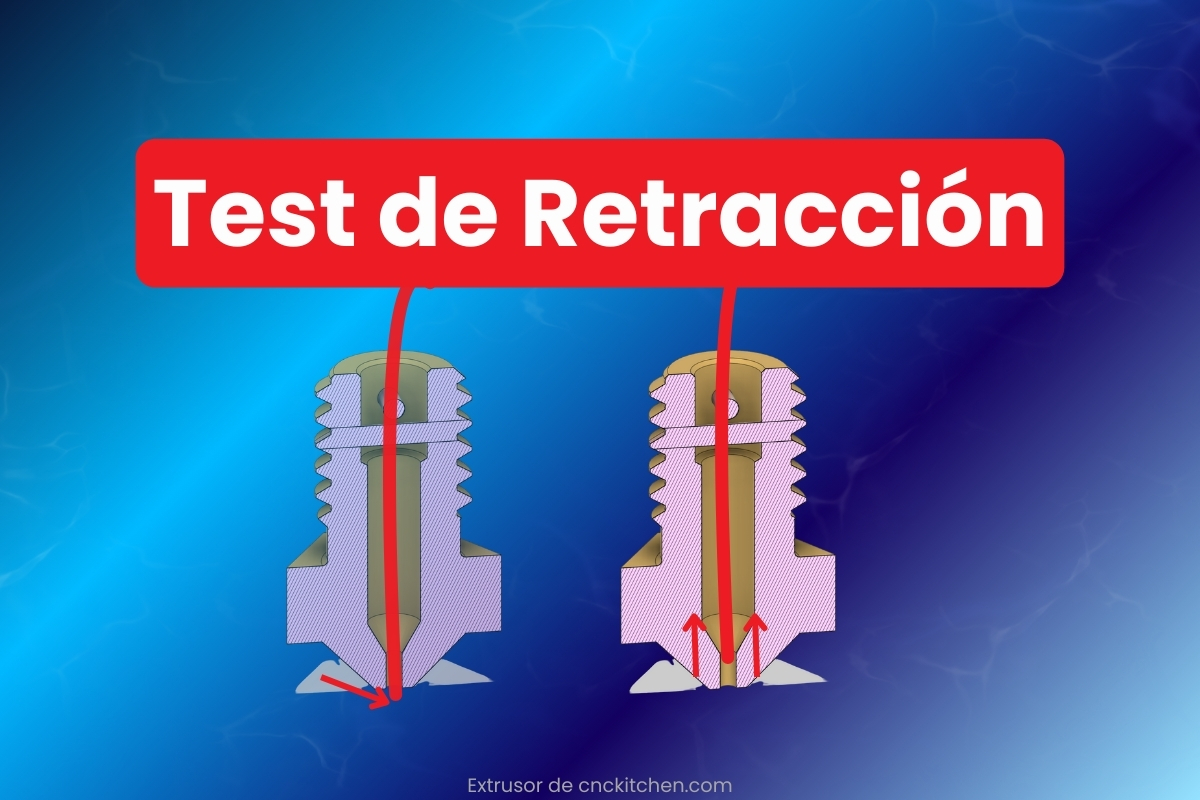
If you’ve ever 3D printed and gotten those annoying threads between parts, welcome to the club. It’s not black magic, it’s simply the retraction set incorrectly. Without the retraction, every time the nozzle moved between two points, it would leave a trail of filament like a spider web. The extruder retracts the filament, pushing it slightly inward to avoid these annoying strands.
Now, mastering shrinkage is a very useful skill, but it is not easy.


This is where the game begins. If you set the retraction too low, you get threads. If you overdo it, the nozzle can clog. So you have to find the right spot.


💡If you start with 2 mm at a stroke and it jams your nozzle, don’t say I didn’t warn you.
Raising the speed can avoid threads, but also strain the extruder. If you hear strange noises, slow down.
Before you start, install the Auto Towers extension in CURA. It’s very easy and only takes a few seconds from the Marketplace.

Choose “Retract Tower – Distance 1-6”. This range covers ideal values for:
✅ Bowden: 4-6 mm
✅ Direct Drive: 1-3 mm
Add “Retract Tower – Speed 35-75”.
It is time to print the famous retraction tower. This is not only for postureo, but to see at what height the threads disappear.
Note: The test performed from Cura and Orcaslicer is equally valid .

✅ If the threads disappear in one section, that is your optimum value.
❌ If the threads are still up, check other factors:

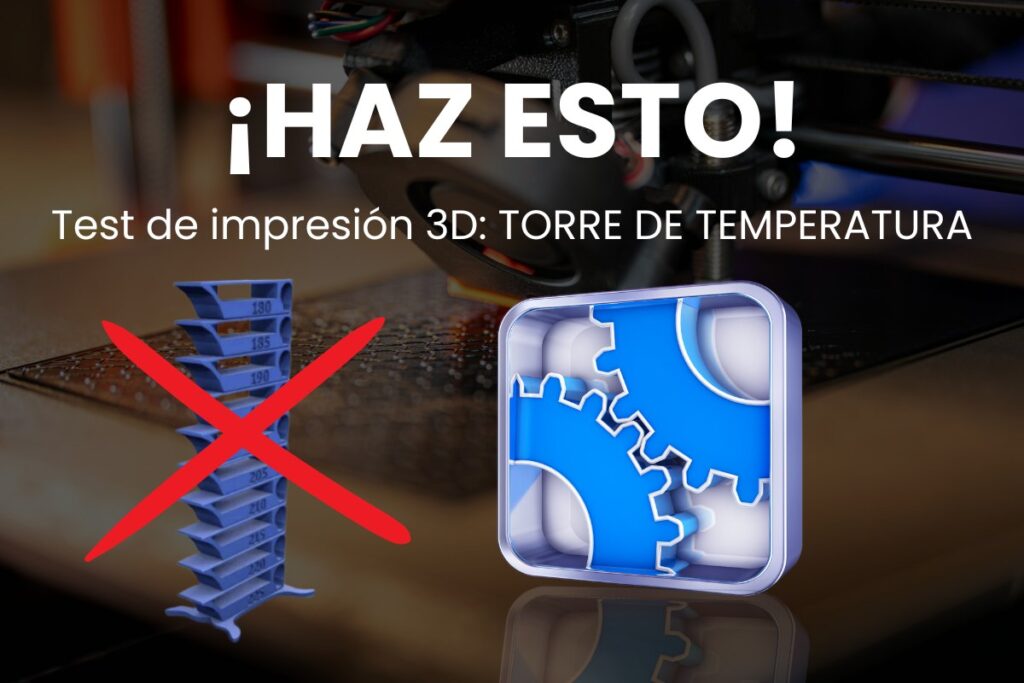
If you see the tower printing like a spider web, check the temperature before touching the retraction.
You already have the magic number, now it’s time to set OrcaSlicer to always use it.
Go to Filament Settings and set the optimum distance you found.
This option tells the nozzle to wipe while retracting, which further reduces threads. It is not mandatory, but in some cases it helps.

If you activate this option and suddenly your printer starts to leave more marks, deactivate it. It is not always the best solution.
Yes! There are multiple models designed for this test. One of the most popular is the “Retraction Tower” from Thingiverse, which you can find here: Download STL for Retraction Test. There are also options in Printables such as Control3D’s Retraction Test or others in Cults 3D if you prefer alternatives.
Of course! Shrink calibration is compatible with all FDM printers, regardless of brand. It works on popular models such as:
The temperature directly influences the flowability of the filament. If it is too high, the material may leak even with optimum shrinkage. If it is too low, shrinkage will not compensate for stringing. We recommend combining this test with a temperature tower for best results.
Flexible filaments (TPU, TPE) require short and slow retractions to avoid clogging:
Try a specific test for these materials.
Smooth Surfaces in 3D Printing | Seams Ironing
Surface quality is the first impression of a 3D part. In Bambu Studio you can gain “professional face” with two
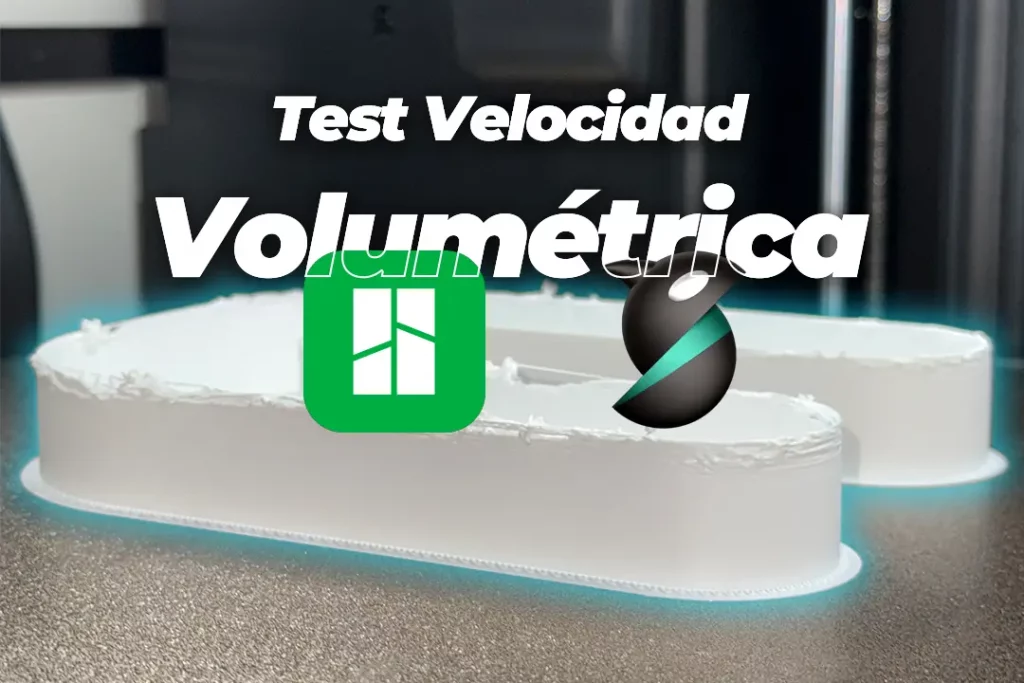
Volumetric Speed Test | Increase 3D Printing Speed
Want to print faster without losing quality? The key is to know the volumetric speed limit of your 3D printer

OrcaSlicer Tolerance Test: Complete 3D Printing Guide
OrcaSlicer’s tolerance test solves a common problem in 3D printing: parts that do not fit correctly when assembled. This simple

3D Printing Shrinkage Test: Quick Guide 2025
Reducing stringing in 3D printing is not a matter of luck, but of good setup. Learn how to do a

Flow Test in 3D Printing: Quick Solution
Filament flow calibration is one of the most important settings in 3D printing. This calibration is done by one or
PLA Temperature Tower for 3D Printing: Guide 2025
Why not just follow the manufacturer’s guide, if only! Filament specifications are a good starting point, if you 3D print
We promise to send you only what interests you: practical advice, special discounts and access to free samples of our filaments. No spam, only benefits.